

| Wire thicknes (W):( mm ) | Bend angle (A):( deg. ) | Bend length (BL):( mm ) | Spoke length (SL):( mm ) |
The spoke gauge is a tool used to map the dimensions and shape of a spoke. The spoke gauge also makes it easy to measure a spoke without the need for specialized instruments. To measure a spoke, a simple ruler and caliper will suffice.
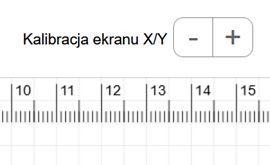
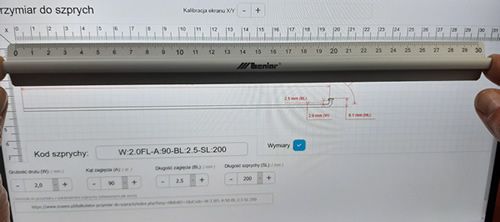
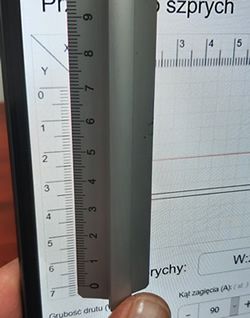
Start measuring the spoke by calibrating the computer screen so that the X/Y measure represents the actual metric units. To do this, you have to place the ruler against the computer and manipulate the "+" and "-" calibration buttons to align the units with each other.
Calibration should be performed over as long a distance as the computer screen allows to minimize inaccuracies. Performing a calibration on a short distance (for example 50mm) can result in differences of up to +/- 3mm for spokes 250-300mm long.
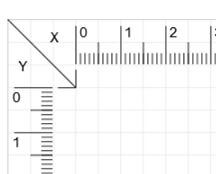
After calibrating the X axis, check that the Y axis is symmetrical to the X axis. There are situations where the resolution of the monitor is not proportional and a correct spoke measurement is not possible.
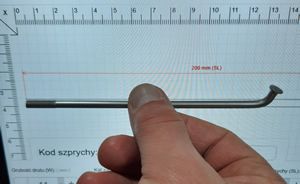
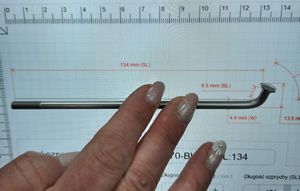
Next, place the spoke against the monitor and manipulate the parameters so that the outline of the spoke matches its actual shape.
By adjusting the spoke parameters, the Spoke Code automatically changes, which must be specified when ordering the spoke.
Dimensional tolerance.
Due to the production process, the actual dimensions of the spokes you order may differ slightly from those shown in the “Spoke Gauge” as shown in the summary below:
- Wire thickness (W) : +/- 0,05mm
- Bend angle (A): +/- 4 st.
- Bend length (BL): +/- 0,4mm
- Spoke length (SL): +/- 0,5mm